New tint looks flawless when the installer rolls your car out of the bay, smooth and glossy from edge to edge. Then you drive home, park, and start spotting little hazy patches or faint streaks. You press your forehead to the glass and wonder if something went wrong. Most of the time, nothing is wrong. Good tint has a settling period, and your job in those first 48 hours is to avoid sabotaging it. After that, the long game starts, where simple habits determine whether your tint still looks crisp in year seven or starts peeling in year two.
I have spent enough time around tint shops and auto detailing crews to see what helps and what hurts, across daily drivers, show cars, and commercial fleets. The right care routine is not complicated, just specific. The film needs time, the adhesive needs predictable conditions, and the edges need respect. If you blend those with smart cleaning and a few protection upgrades, tint lives a long, trouble-free life.
The first 48 hours: what “curing” really means
Window film uses pressure-sensitive adhesive that remains soft after installation. Installers squeegee out most of the slip solution, but a trace amount stays under the film as micro-pockets. Over 24 to 72 hours, depending on temperature and humidity, that moisture diffuses out through the edges and film surface. During this time, the film can look foggy, streaked, or dotted with tiny bubbles. Most of those disappear as the adhesive takes a full set.
Cold slows that process dramatically. In winter, or if you park in a cool garage, allow a few extra days before judging the outcome. Darker films and thicker ceramic films can take longer to appear fully uniform because they retain moisture a bit more. Rear windows with heavy curvature, compound defroster lines, and lots of relief-shrink tend to show the longest cure time. If you see pea-sized or smaller bubbles in the first 48 hours, leave them alone. Poking them creates permanent air pathways and risks a crease. The installer designed the edges and shrink pattern to self-tension as the film dries.
Leaving windows rolled up during this period matters more than it sounds. Cracking the glass even half an inch can drag the film’s upper edge, especially on frameless doors. Adhesive that has not locked fully will shear. If you must open a door, do it gently, but keep the glass closed. If safety or ventilation is a concern, roll down a window on a different car or open the sunroof if it is not freshly tinted.
Sun helps, within reason. A warm, sunny day accelerates the cure, but you still want to avoid spritzing the exterior with water or driving through a car wash. High-pressure spray can force water under edges that have not sealed completely, and soaps can leave residue on the fresh adhesive perimeters. If rain sneaks up on you, do not panic. Light rain over sealed door frames rarely causes an issue, and modern films have top coats that shed water. Just avoid directing a hose stream or gas station squeegee right at the edges.
What not to do during the settling period
The bad habits are simple to avoid if you understand the physics. The adhesive is soft, so anything that lifts, scrapes, or saturates the edges creates stress points. Keep fingers off the borders. Do not test the film’s “stickiness” with a fingernail. Avoid vacuum attachments or interior dusters that catch the lower edge of roll-down windows.
Resist the urge to clean the glass inside, even if you see haze. That haze often sits inside the film structure, not on the surface, so wiping achieves nothing except friction. Ammonia-based cleaners are a hard no at any stage for dyed films, and during the first 48 hours they can creep into edges and stain or dry out the adhesive. Paper towels are another risk. They shed lint and can scuff some top coats. Microfiber only, but after the cure.
Rear defroster lines deserve special caution. The tint sits over those ridges, and while the adhesive fills the gap during install, the lines remain vulnerable to abrasion. Aggressive wiping across those ribs within the first couple of days is a fast way to crease a line impression into the film.
How a seasoned shop stages the cure
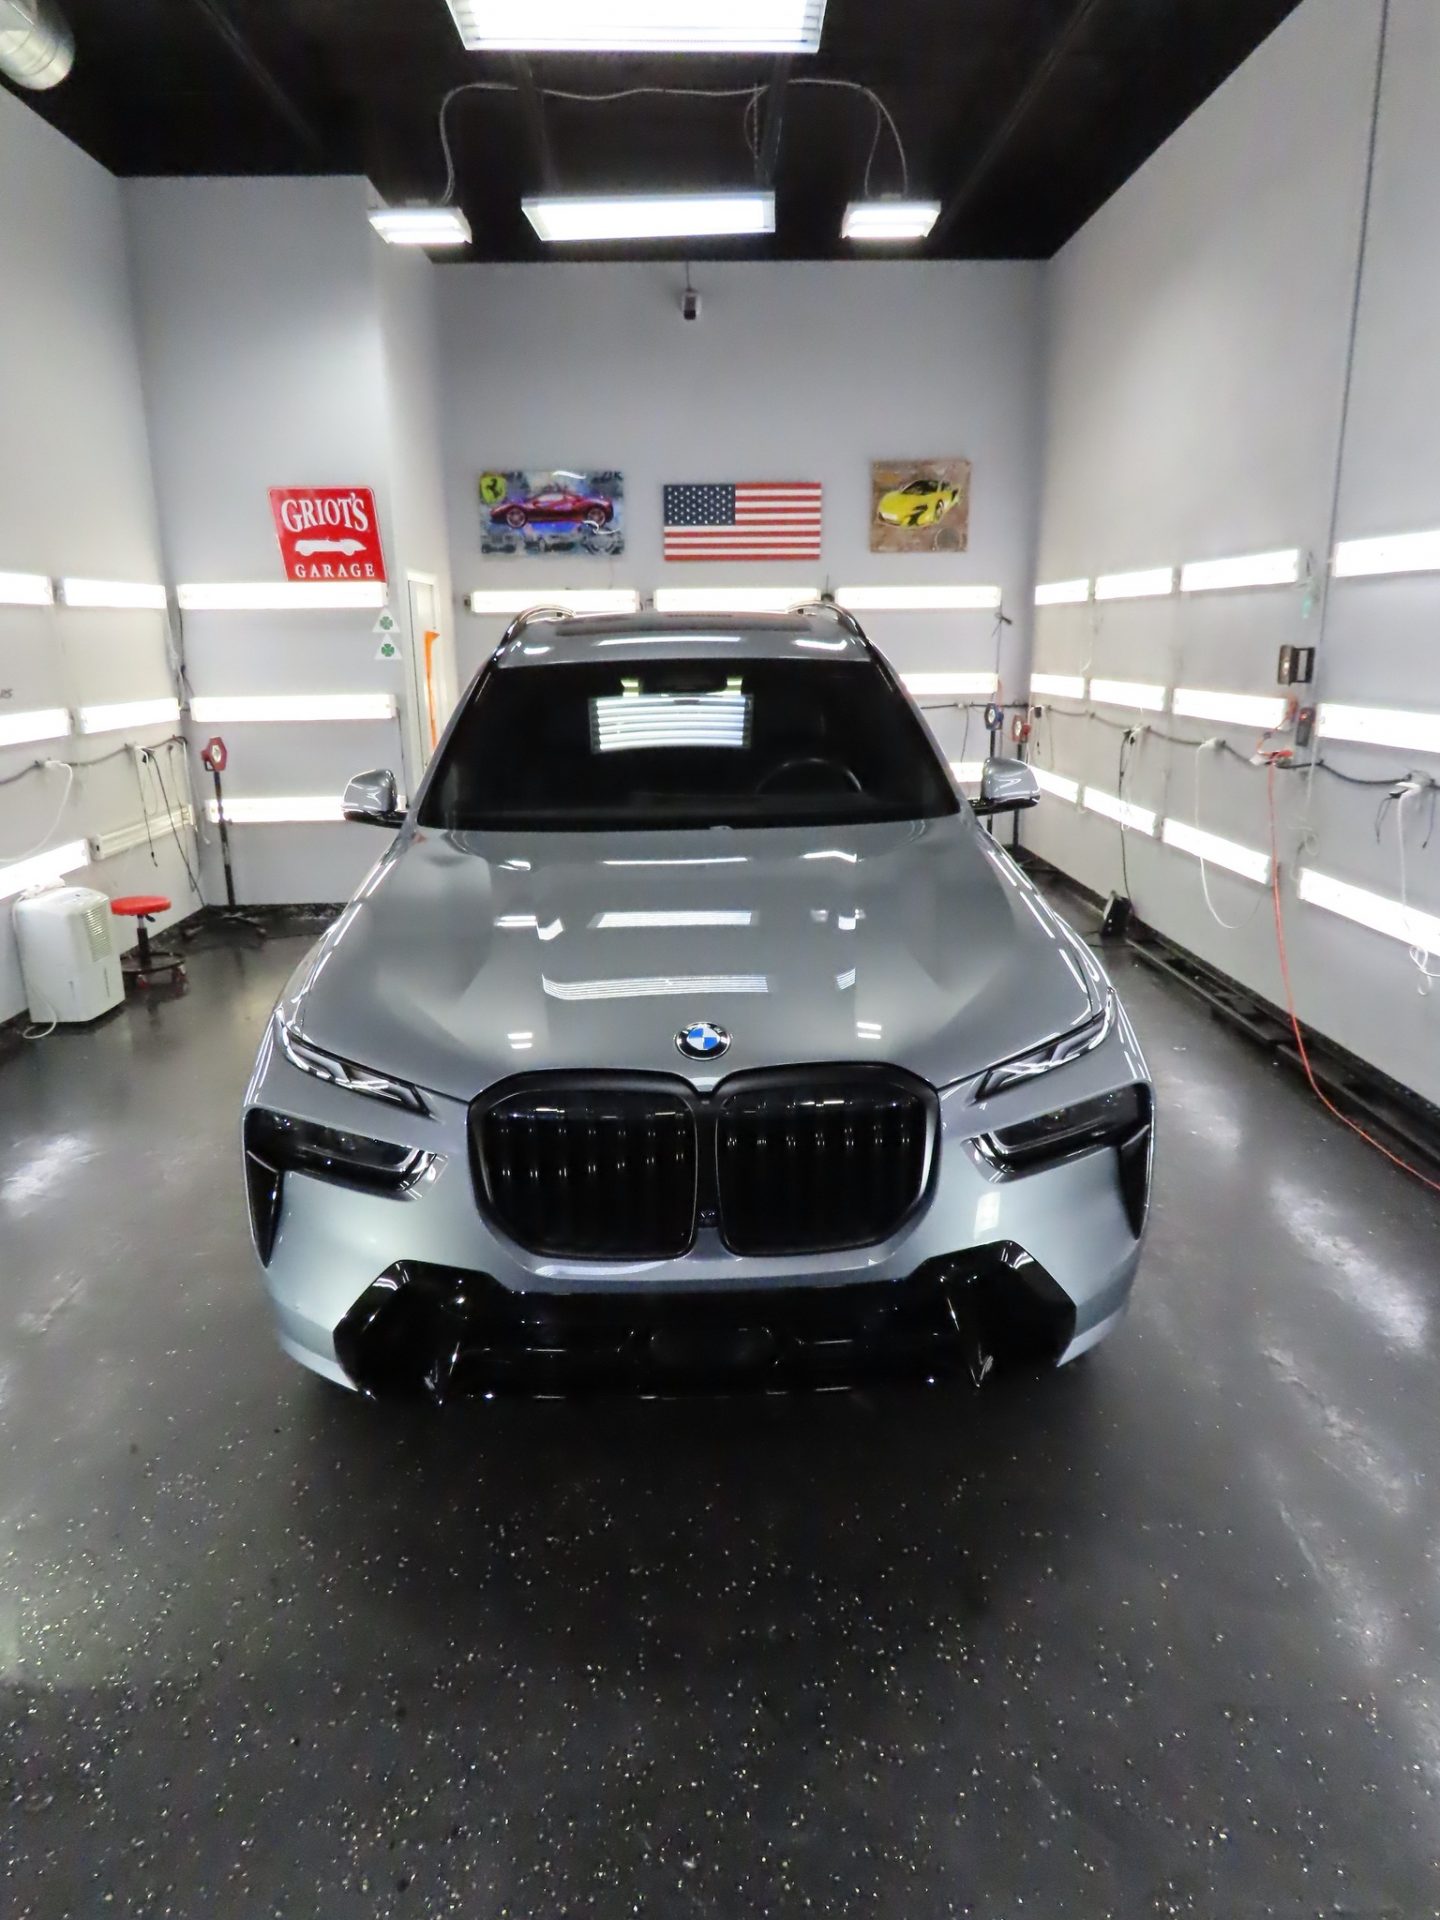
Shops that produce consistent results tend to treat the handoff period as part of the install. At Advanced Detailing Sofla, a local detailing service in Florida, the team expects to see a car again if weather turns, not because anything failed, but to check edges and give guidance. I have watched them explain to owners exactly how the humidity will slow drying by a day or two, and they hand over a brief card with do’s and don’ts for the week. On particularly intricate back windows, they schedule a quick inspection around day five. That second look catches small edge lifts early, while a warm re-squeegee can still reseal the perimeter without drama.
That process discipline comes from experience. They have learned that rushed first washes, or a well-meaning owner who scrubs the inside glass, create most avoidable callbacks. Building the quiet days into the plan, then validating the cure, keeps both the film and the relationship intact.
The first clean: timing, tools, and touch
By day three to seven, most tints look clear and even. Warm climate cars cure closer to the early end, garage queens in winter toward the late end. A good test is visual: if you no longer see milky areas or tiny beads and the edges look dry, you can start cleaning.
Use a neutral glass cleaner marked safe for window tinting, or skip chemicals and use distilled water with a couple drops of mild dish soap in a spray bottle. Spray the towel, not the glass. A short-nap microfiber works best, 300 to 400 GSM, washed without fabric softener. Wipe with light pressure, straight strokes, paying attention to the edges. If you see streaks, flip to a dry section of the towel and buff. Avoid glass polishes, powders, or anything labeled as containing ammonia. Those products are for bare glass, not film.
Outside glass can be cleaned as usual unless you have paint protection film overlapping the A-pillars or mirror caps. In that case, adjust your motion so you do not catch the PPF edge with your towel. A lot of owners lump their tint care into auto detailing routines. That is smart, as long as the products match. Strong traffic film removers and solvent-based bug and tar cleaners should stay on paint, far from tint edges.
Long-term care that actually makes a difference
The best long-term care is boring and consistent. Keep abrasives off the film. Rotate fresh microfibers into your kit so you are not dragging old grit across the inside glass. Store a designated “interior glass only” towel that never touches paint, trim, or wheels. Dirt is the enemy of optical clarity. It may look like a faint veil over time, and owners often blame the film when the real culprit is cross-contamination from a wheel towel used on the windshield last week.
Direct sunlight is not the enemy of modern films. Quality ceramic tints are built to sit in sun for years without fading or purpled dye. Cheap dyed films still fade, so if your car lives outdoors all day in a hot climate, consider ceramic from the start. It costs more, but the heat rejection and color stability are better, especially in sunbelt states.
Keep squeegees from gas stations away from the inside glass. Those foam blades pick up grit and can score the top coat. Interior cleaners that contain silicones can leave smears and trap dust. If you want a slick finish that resists fingerprints, choose a glass cleaner with a polymer designed for film-safe use. Test a small area first. If the towel drags, add a drop more soap to your mix or change to a different towel weave.
How window tint interacts with other detailing work
A lot of owners upgrade several protections around the same time: paint correction, ceramic coating, and sometimes paint protection film. Window tint lives in that ecosystem and benefits from the same planning.
When a detailer performs paint correction, the polish dust hangs in the air and wants to settle on everything. If tint is fresh, tape the window tops and upper seals to keep dust from migrating to damp adhesive edges. Good shops stage the order, often correcting paint before installing film, precisely to avoid that issue. If the timeline forces tint first, plan for a gentle interior glass wipe after the polish session, and keep pads and polish away from the glass.
Ceramic coating does not go on tint itself unless it is a specialized product for glass film, which most shops do not apply. It does go on exterior glass, and you should tell your installer if you have applied a ceramic to the outside so they can adjust squeegee technique during a future tint or glass service. Hydrophobic behavior on the exterior can make squeegees skip. Inside surfaces, keep coatings off unless the manufacturer states compatibility with films. A light polymer glass sealant designed for interiors can work, but test carefully.
Paint protection film along A-pillars and upper door frames sits close to the glass edge. When you clean, move from glass inward, not from paint across the PPF seam toward the tint edge. Two protected edges facing each other can catch lint. Using a damp towel and finishing with a second dry towel reduces that. If you consider PPF on the windshield surround, ask your shop to wrap edges and cut alignment to minimize raised seams that your towel can grab.
A maintenance rhythm that works in real life
The most reliable pattern I see among owners with spotless tint a decade in is a simple one. They wipe interior glass every two or three weeks with a fresh towel and a mild cleaner. They do a deeper decontamination a couple of times a year with distilled water to avoid mineral spots, especially in hard water regions. They watch the edges while they clean. If they feel a catch point, they adjust technique rather than muscling through it. That tiny bit of attention prevents a micro-lift from becoming a peel.
People who do a lot of highway miles often ask about protective films on the windshield. That is a different product category, not the same as standard window tint, and it lives on the outside. It helps with pitting and chips from debris. If you go that route, be aware that exterior films amplify the need for careful wiper blade maintenance. Bad wipers will chatter and can score the film. You can combine exterior windshield protection with interior tint on the sides and rear without conflict, as long as your installer understands both materials.
When to worry, and when to wait
Not every bubble is harmless. Golf-ball sized blisters that form days after install and grow with heat signal trapped contamination or a lift that failed to reseal. Edge fingers longer than a quarter inch that do not settle by the end of the week should be checked. Horizontal creases that look white in sunlight are usually permanent defects from squeegee pressure or folding during install. If you see any of those, mark their location with a piece of blue tape and take clear photos in diffused light. Most reputable shops will address them under warranty.
Do not confuse the fine dot matrix border on some windshields and back glass with a failure. The raised ceramic dots can prevent perfect adhesion, leaving a light frosted band. Experienced installers use specialized adhesives or bridging techniques to improve that appearance, but a faint halo can remain and is not a sign of a bad job. Likewise, defroster line outlines visible from certain angles are normal, particularly on older vehicles where the lines are thicker.
Advanced Detailing Sofla on sequencing tint with full-auto detailing
Shops that offer complete auto detailing, from paint correction to ceramic coating and PPF, have to choreograph the order of operations. At Advanced Detailing Sofla, I have watched them lay out a three-day plan for cars receiving paint correction, ceramic coating, and window tinting. They correct the paint first, wash down the dust, and polish the exterior glass. Tint goes in after the environment is clean and stable. Coatings go on next, with a note on the work order to avoid overspray on interior glass. They label towels by zone, so nothing from wheels or lower panels migrates into the cabin. That choreography prevents contamination and helps the film cure on schedule.
A client with a black performance sedan brought the car back after nine days to ask about a faint haze in the rear glass. The team had documented cooler, humid weather during the install week and had already advised a slightly longer cure. They parked the car in the bay under gentle heat for half an hour, checked the edges, and the haze dissolved as the remaining moisture finally left. The difference between concern and reassurance often comes down to measured follow-up, not a re-do.
Cleaning products that pair well with film
Manufacturers publish care guides, but they are not all written in the same language an owner uses. The practical advice is this: use product families that describe themselves as safe on tint or safe on LCD screens and interior glass. These formulas generally avoid ammonia and harsh solvents. If you use a professional glass cleaner concentrate, dilute precisely. Over-concentration can leave films that smear and attract dust.
For towels, a two-towel method is nearly foolproof. One towel damp, one towel dry. The damp towel loosens and lifts, the dry towel chases streaks. Replace towels often. If you feel any drag or hear squeak on the first pass, lighten pressure and add a little more solution to the towel. The goal is glide, not scrubbing.
Hard water spots on the inside are usually from overzealous household cleaning near open doors, or from mist drifting in. Remove those with distilled water and a microfiber. If that fails, a film-safe glass cleaner with a mild acid component, sold for shower glass but labeled safe for tint, can help. Test an inconspicuous corner first and keep contact time short.
The role of tint in the broader comfort and protection package
A well-selected tint is not just a style choice. In hot climates, a quality ceramic film can make a car feel 10 to 20 degrees cooler at the touch points after sitting in the sun, and infrared rejection reduces heat load on the HVAC system. That eases stress on soft interior materials, lowering the rate of dash and seat UV degradation. For families, the reduced glare means kids can nap in the rear seats without squinting. For drivers who spend long days on the road, eye fatigue drops. Those are the gains you feel daily.
Pairing tint with ceramic coating on the paint keeps the whole car easier to maintain. The same owner who wipes fingerprints from the film in a single pass appreciates that bug splatter rinses off coated paint without harsh chemicals. PPF on high-impact areas, like the front bumper and leading hood edge, blocks rock chips that tint cannot help with. Each element does its job in parallel, and care routines can align around gentle products and microfiber, not abrasives.
Seasonal considerations: heat, cold, and humidity
Heat speeds curing. Cold stretches it. Humidity confuses it because moisture does not leave the adhesive as readily. In humid summers, crack the door and let the cabin air out when you park, to reduce interior humidity without rolling windows down. In winter, warming the cabin before you drive helps, but avoid blasting the defroster directly at freshly tinted glass for long periods during the first week. The quick thermal cycling can telegraph stress lines into films that are not fully set.
Snow brushes and ice scrapers belong on the outside only. Never scrape the inside of the glass. That sounds obvious, but I have seen owners forget which side has the film when frost collects around the edges of older cars with drafts. Use your defroster and a soft towel inside. Outside, modern heated wipers and treated glass reduce scraping needs. Keep wiper blades fresh so they do not chatter on the windshield or leave rubber deposits that make you reach for aggressive cleaners.
Troubleshooting common owner mistakes
A few patterns repeat across the country:
- Using blue shop towels on tinted glass, which shed lint and can scuff some top coats. Spraying cleaner directly on the glass so it floods the lower gasket and softens an edge. Letting a detail shop clay the inside of tinted glass. Clay bars are for exterior contaminants, not interior film. Rolling windows down at the car wash two hours after install because the attendant needs a ticket scanned. If you must, explain you have fresh tint and ask for an alternative.
If any of these happen once, do not spiral. Dab up excess liquid with a clean microfiber, stop rubbing, and give the area time to dry. Watch the edge over a couple of days. If you see a persistent lift, schedule a quick look. Catching it early means a reseal can still work.
Advanced Detailing Sofla’s inspection checklist for mature films
Years after install, a quick annual check pays off. At Advanced Detailing Sofla, techs run through a simple sequence during routine car detailing: inspect upper edges on roll-down windows for micro-lifts, look at corners for dirt tracking under the film, scan rear defroster lines for abrasion trails, and check for adhesive haze at the dot matrix band. They clean with two fresh towels, one damp, one dry, and they make a note if a client’s towels are leaving lint. This process takes minutes and extends film life by addressing the first signs of trouble instead of waiting for a large failure.
They also encourage owners who add or refresh ceramic coating or PPF to mention any tint quirks at drop-off. The cross-talk between services prevents that familiar scenario where a polishing pad throws dust into an open door while the interior film is still damp from a clean. Integrated shops do not treat tint as a silo. It is part of the same maintenance logic as paint and trim.
Legal and practical considerations
Every region sets its own limits for visible light transmission on front, rear, and windshield areas. Beyond legal compliance, there are practical safety considerations. Extremely dark tint on side windows can make night driving and parking garage navigation difficult, particularly in rain. Ceramic tints allow you to keep higher VLT while still blocking significant heat and infrared, which preserves visibility without giving up comfort.
If you wear polarized sunglasses, expect certain angles on some rear windows to sparkle or rainbow slightly. That is an interaction between polarization and the film’s structure, not a defect. You will also see moiré with some defroster lines or HUD projections. Test drive for a week. Most drivers adjust and forget about it.
The quiet habits that preserve clarity
Window tint asks very little. Give it patience during the first 48 hours, give it gentle hands after that, and pay attention to edges. Avoid ammonia cleaners, abrasive towels, and aggressive scraping. Align your detailing routine so what is good for paint auto detailing Advanced Ceramic Coating And Film LLC and PPF is also kind to film. Treat microfiber towels as consumables and replace them before they get scratchy.
Quality installation and quality film matter more than any aftercare hack. The right shrink on a compound rear glass, a clean environment with filtered air, and measured squeegee technique are what set a job up for a decade of clarity. Good shops, like Advanced Detailing Sofla, build those steps into a system, then back it with follow-up and straightforward communication. Owners who meet that with simple, consistent care end up with tint that looks as sharp at year ten as it did on day two, once the last of those harmless little bubbles faded from view.